I’ve just had the pleasure of conserving two beautiful pieces of Toiles de Jouy which are new acquisitions to The Bowes Museum collection. This project developed my knowledge of conserving flat textiles and has taught me about Toiles de Jouy, a type of textile that I knew little about before doing this treatment.

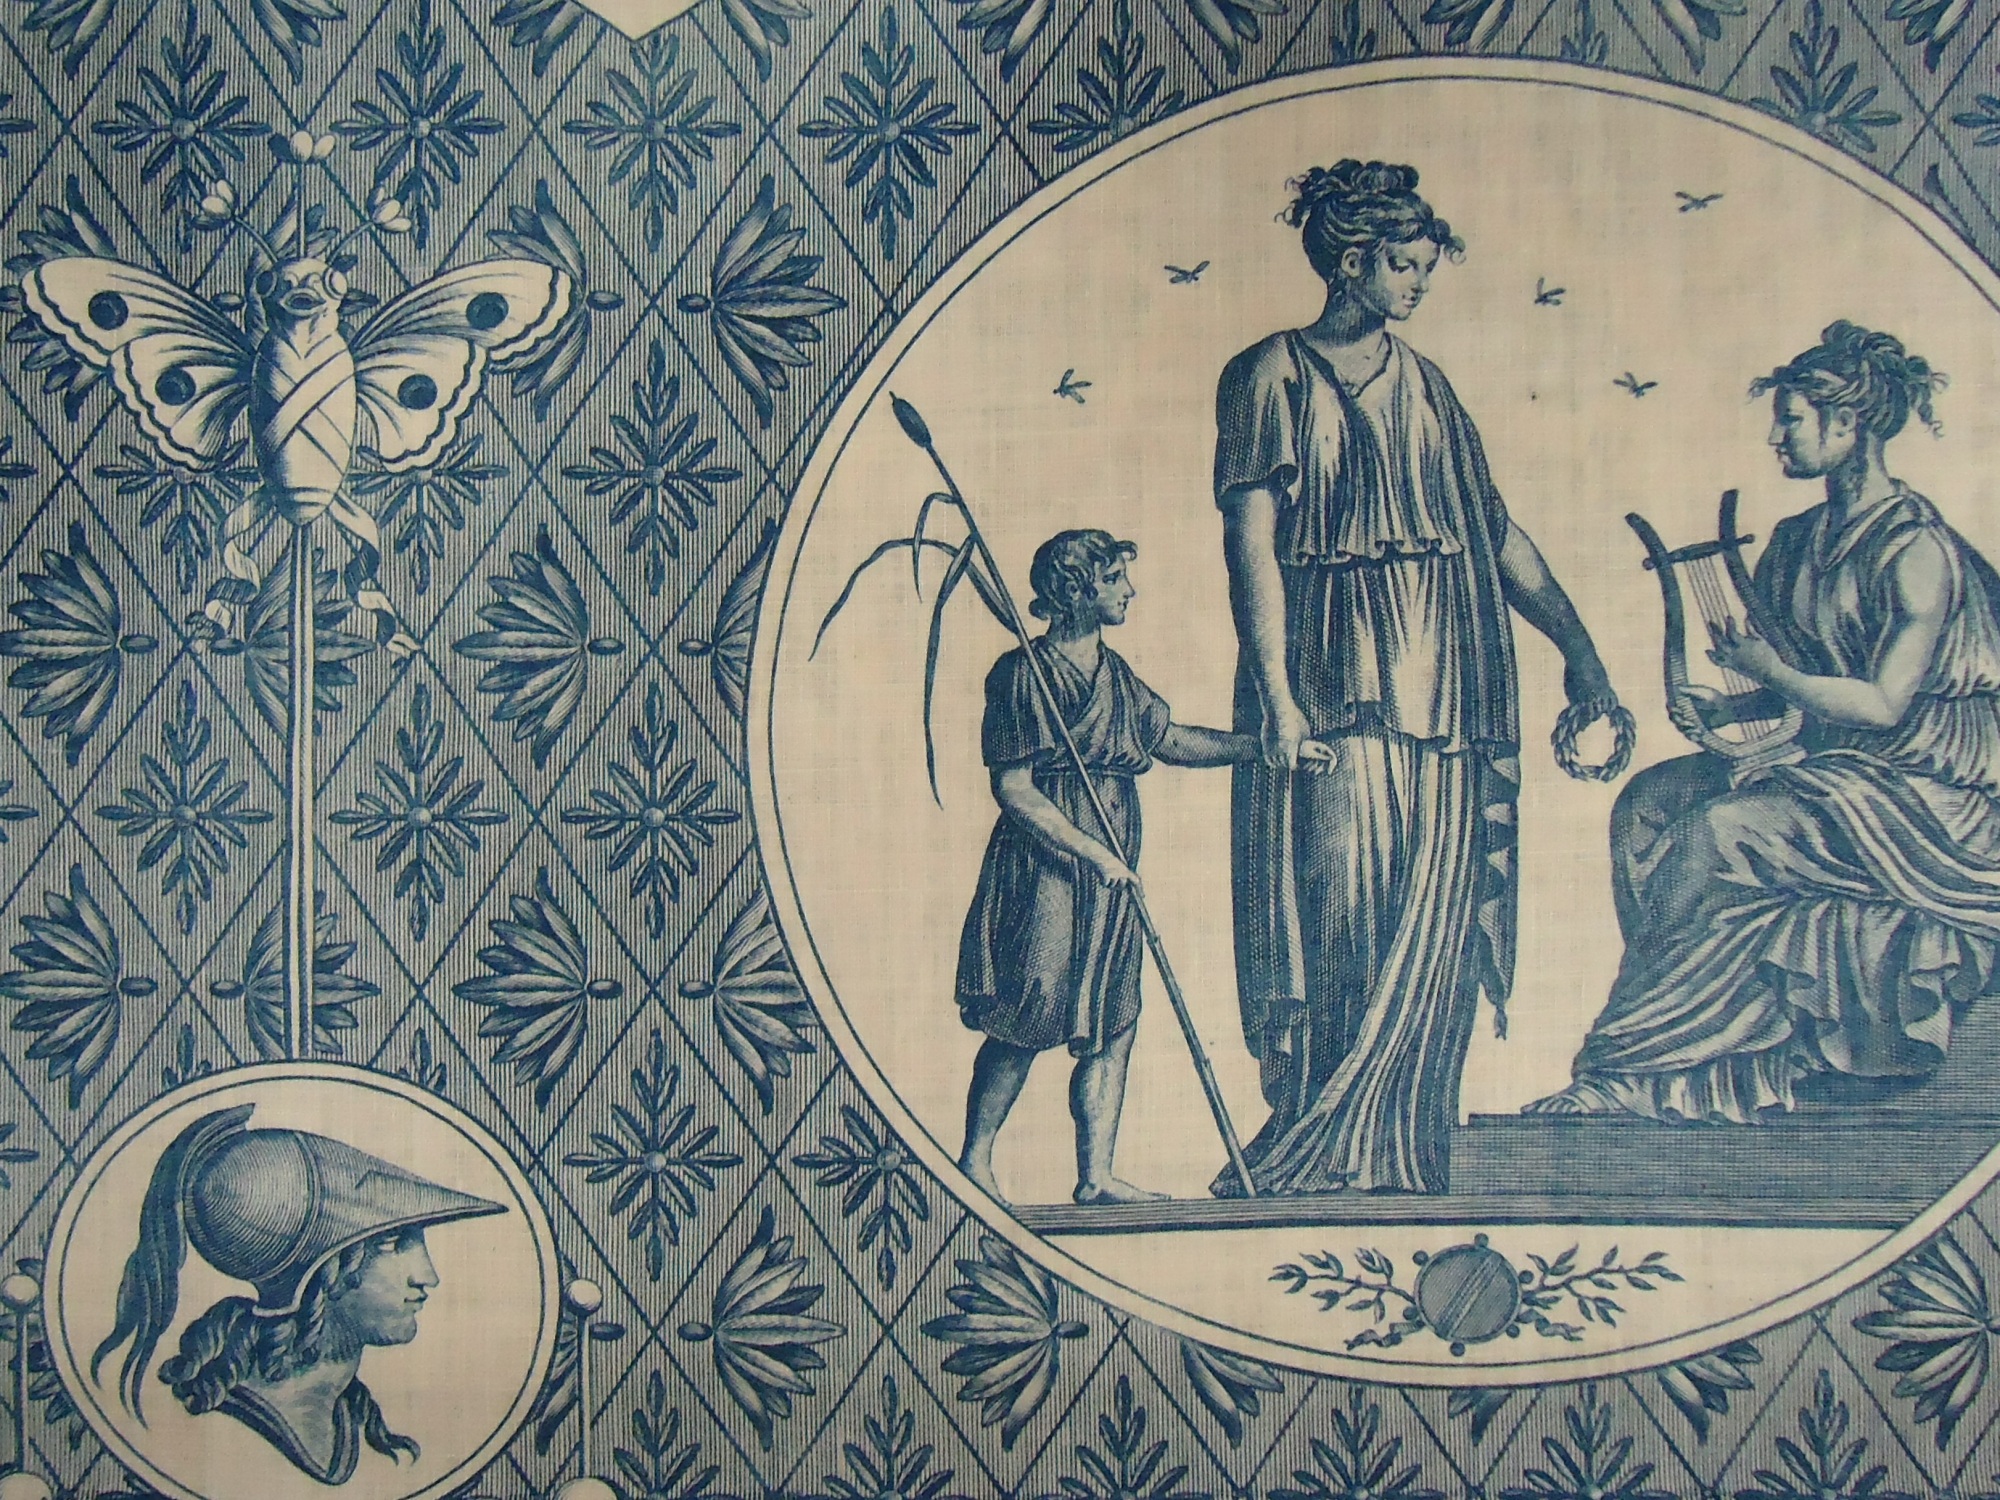
Toiles de Jouy translates as ‘cloth from Jouy’. These were printed cottons made in Jouy-en-Josas by Manufacture Oberkampf (1738-1815). Both pieces I conserved have the same blue and white pattern, which was inspired by motifs found on antiquities excavated at Pompeii. It was designed c.1808, a time when there was a resurgence of antique imagery in French decoration as Napolean’s new republic attempted to align itself with rulers of the ancient world.[For more information, see Sarah Grant, Toiles de Jouy (London: V&A Publishing, 2010)]
Both textiles had several holes. As the holes were only in small areas I created support through applying local patches rather than applying a full backing to each textile. For the support fabric I choose to use a cotton lawn that is a similar weight to the Toile de Jouy. Conservators tend to use a support material of the same fabric as the object being treated. This is so the support will react in the same way as the object to changes in environmental conditions (such as fluctuations in temperature and relative humidity).
It is important for a support patch to be a close colour match to the object so that it acts as a visual in-fill, making the damage less noticeable. I found that the undyed cotton lawn support was too bright white to use, so I set about to dye it an off-white that would blend in better.


As a starting point I used a recipe from our studio’s archive for dyeing cotton beige using Novacron® FN (a reactive dye used in conservation to dye cellulosic fabrics). I dyed several batches of cotton samples, varying the amounts of the three component colours. I eventually achieved a good colour match, but needed to experiment further to get a closer tonal match. The tone of a colour is altered by changing the depth of shade (the percentage by weight of dyestuff to fabric). Although this was a lengthy process it gave me plenty of dyeing practice which consolidated the information I was taught about dyeing at university.
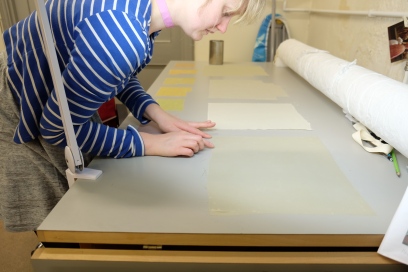
Next I supported each of the holes by applying a patch of the dyed fabric behind each. The support patch was tacked behind a hole, making sure that the weave was aligned with the grain of the textile. Couching stitches were used to secure each hole to its support patch, and hold the frayed edges in place. A couching stitch is when thread is laid in a line which is parallel with the weave of a fabric and then small holding stitches are sewn over the laid thread to hold it in place.


This treatment highlights one of the key advantages for me of being an ICON/HLF textile conservation intern at The Bowes Museum. I’m in the lucky position of being given time and space to thoroughly practice skills that I was taught at university so that I become more confident and competent in my abilities. Dyeing cotton support fabric will never faze me again!
Kate Clive-Powell, ICON/HLF Textiles Conservation Intern

